Recessed Crawl Space Vent Cover 8×16 Black: Seal Out Moisture, Pests, and Drafts
$28.99
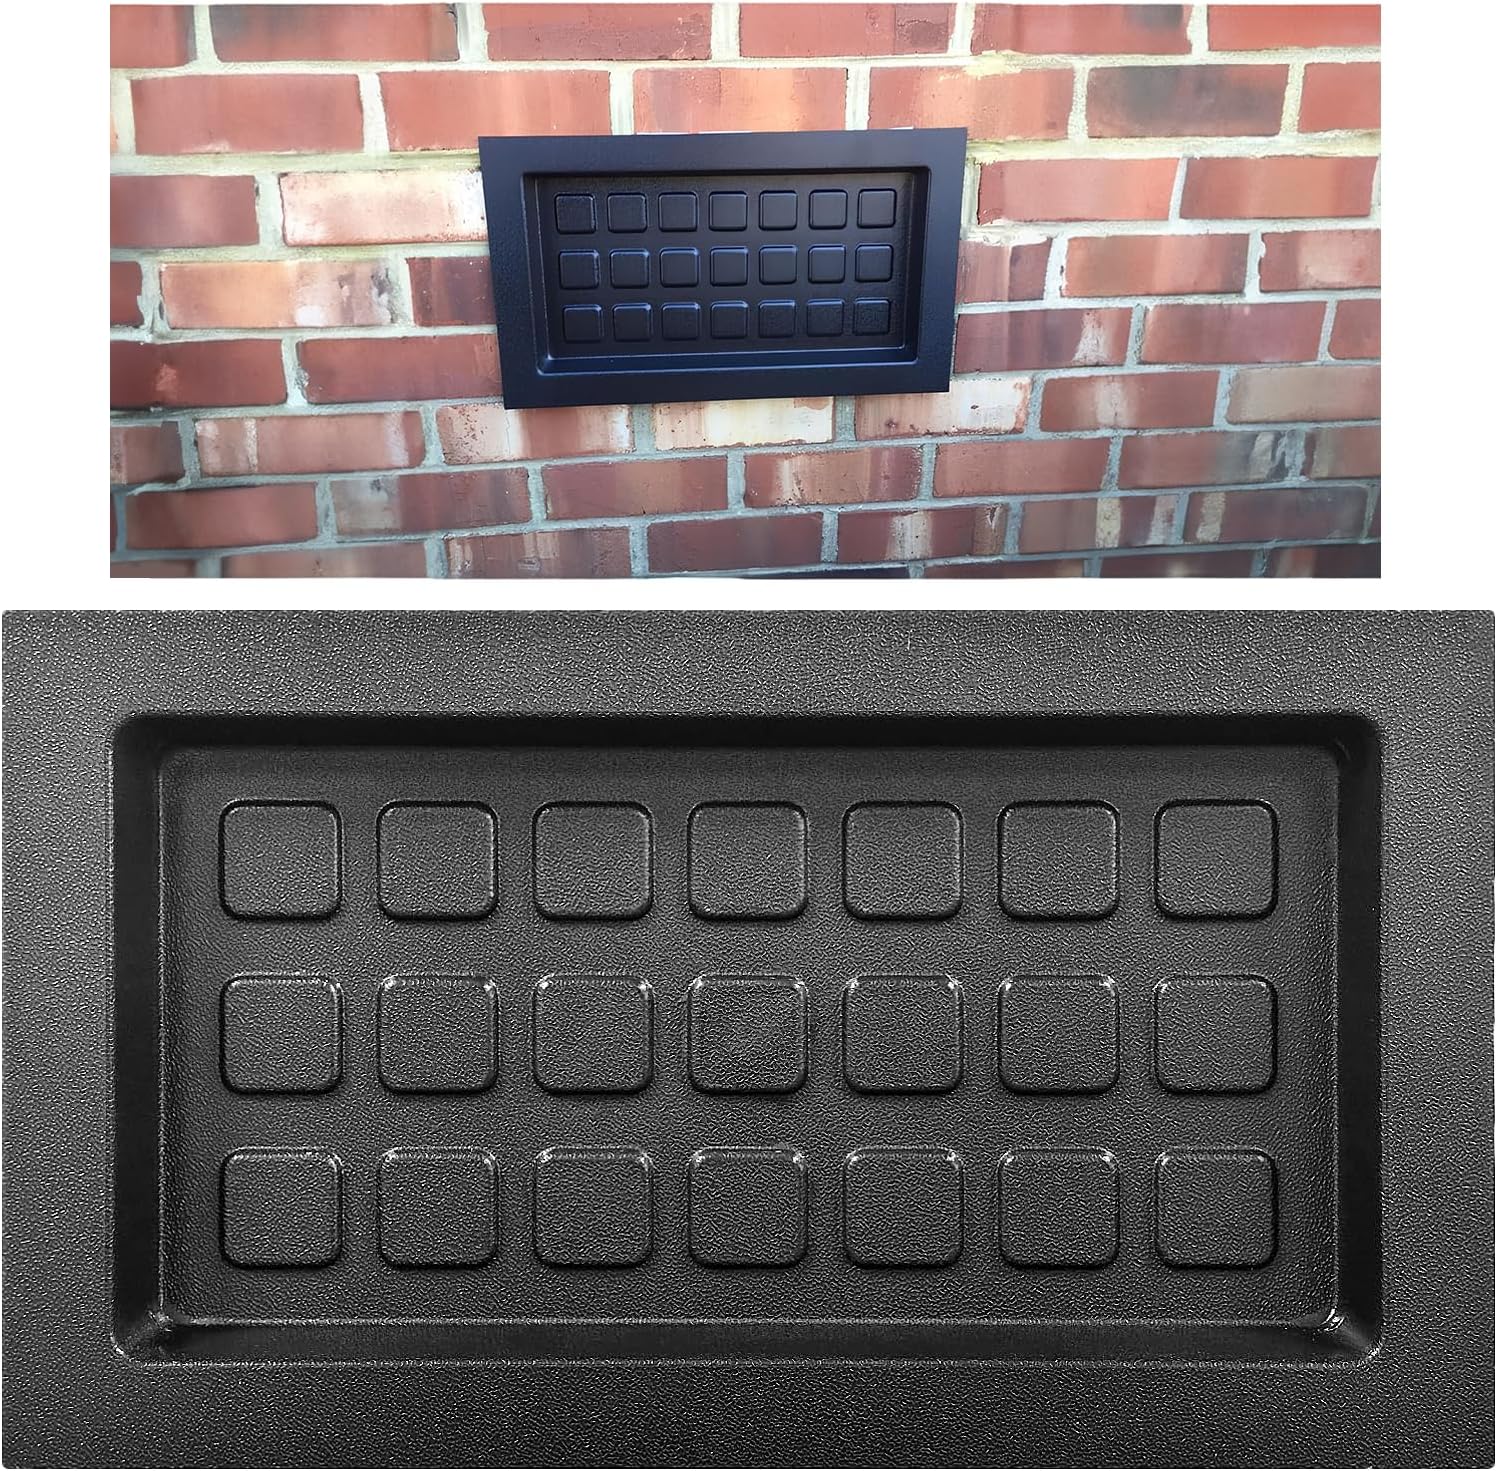
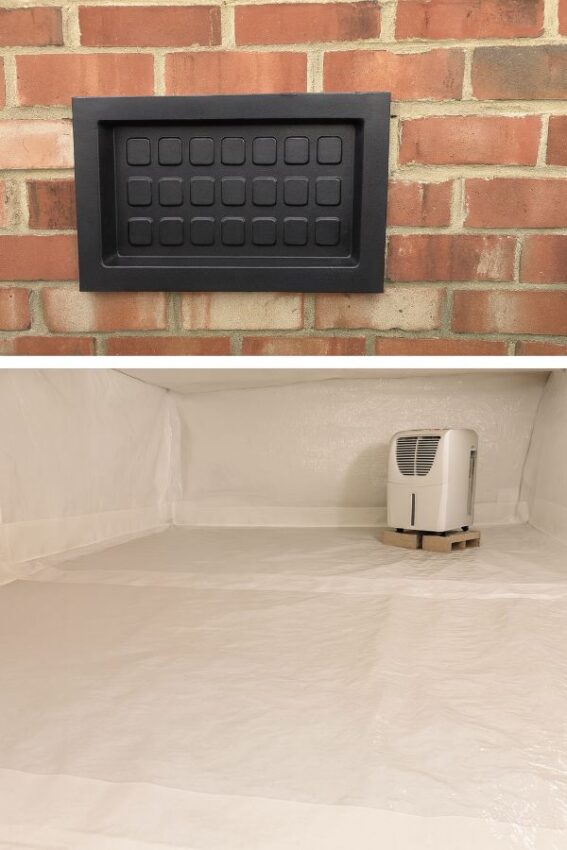
Seal out damp air, pests, and drafts with the Crawl Space Recessed Foundation Vent Cover, fits 8 inch by 16 inch openings, black. The solid ABS insert recesses into the standard foundation vent opening for a tight, permanent closure that supports a sealed or conditioned crawl space plan per IRC R408.3. Typical listings show an outside face about 9 3/4 by 17 1/4 inches and an internal panel near 6 1/2 by 14 inches or 7 3/4 by 15 inches, so measure your rough opening before you buy. Keep crawl humidity below 60 percent, ideally 30 to 50 percent, for healthier air and a dry subfloor.
Description
If you are ready to stop damp air, insects, and cold drafts sneaking in through your foundation vents, the Recessed Crawl Space Vent Cover 8×16 Black: Seal Out Moisture, Pests, and Drafts is a purpose-built fix. It is a solid ABS insert sized for the common 8 by 16 foundation opening, ideal for homeowners converting to a sealed or encapsulated crawl space for better moisture control and energy comfort.
Key Customer Benefits
1) Cuts crawl space moisture and mold risk, which protects your subfloor and air quality. Sealing a vent opening with a recessed cover helps the vapor barrier and dehumidifier do their job, keeping relative humidity in the healthy range below sixty percent, ideally thirty to fifty percent. Lower humidity reduces mold growth and keeps dust mites in check, which is better for your home and your lungs.
2) Supports a sealed or conditioned crawl space for comfort and energy savings. Field studies and guidance from Building Science Corporation and Advanced Energy report that closed or conditioned crawl spaces outperform vented crawl spaces on moisture control, durability, comfort, and often energy use. Converting vents to a sealed system begins with blocking outside air pathways like the 8 by 16 openings this cover fits.
3) Helps meet modern code pathways for unvented crawl spaces. The International Residential Code allows unvented under-floor spaces when specific steps are followed, for example a continuous class I vapor retarder over the soil, perimeter sealing, and either mechanical drying or conditioned air. A dedicated vent cover is a practical piece of that compliance puzzle because it closes the old openings securely.
4) Blocks pests at a known entry point, which prevents damage and contamination. Mice can slip through holes about the width of a pencil, roughly one quarter inch, and once inside they can chew wiring and contaminate insulation. Closing the full vent opening with a rigid cover removes a major pathway instead of relying on flimsy screens that pests can breach.
5) Reduces cold drafts and pipe-freezing risk in winter, and keeps hot humid air out in summer. Open vents let seasonal air wash through the crawl space, which can chill plumbing and floor assemblies or load the space with summer moisture through condensation. Sealing the vent helps stabilize conditions so your dehumidifier and HVAC do not have to fight the weather.
6) Improves whole-home comfort through the stack effect. Air from the crawl space can move upward into living areas, bringing odors and moisture with it. By closing the vent and managing humidity, you reduce the amount of unwanted crawl space air that migrates into bedrooms and living rooms.
7) Creates a cleaner, service-friendly crawl space. Technicians working on ducts, plumbing, or sump systems benefit from a drier, sealed environment that is less prone to moldy insulation and condensation. Long term, that usually means fewer callbacks and a crawl space that homeowners are not afraid to enter.
Product Description
What this cover is and why it exists
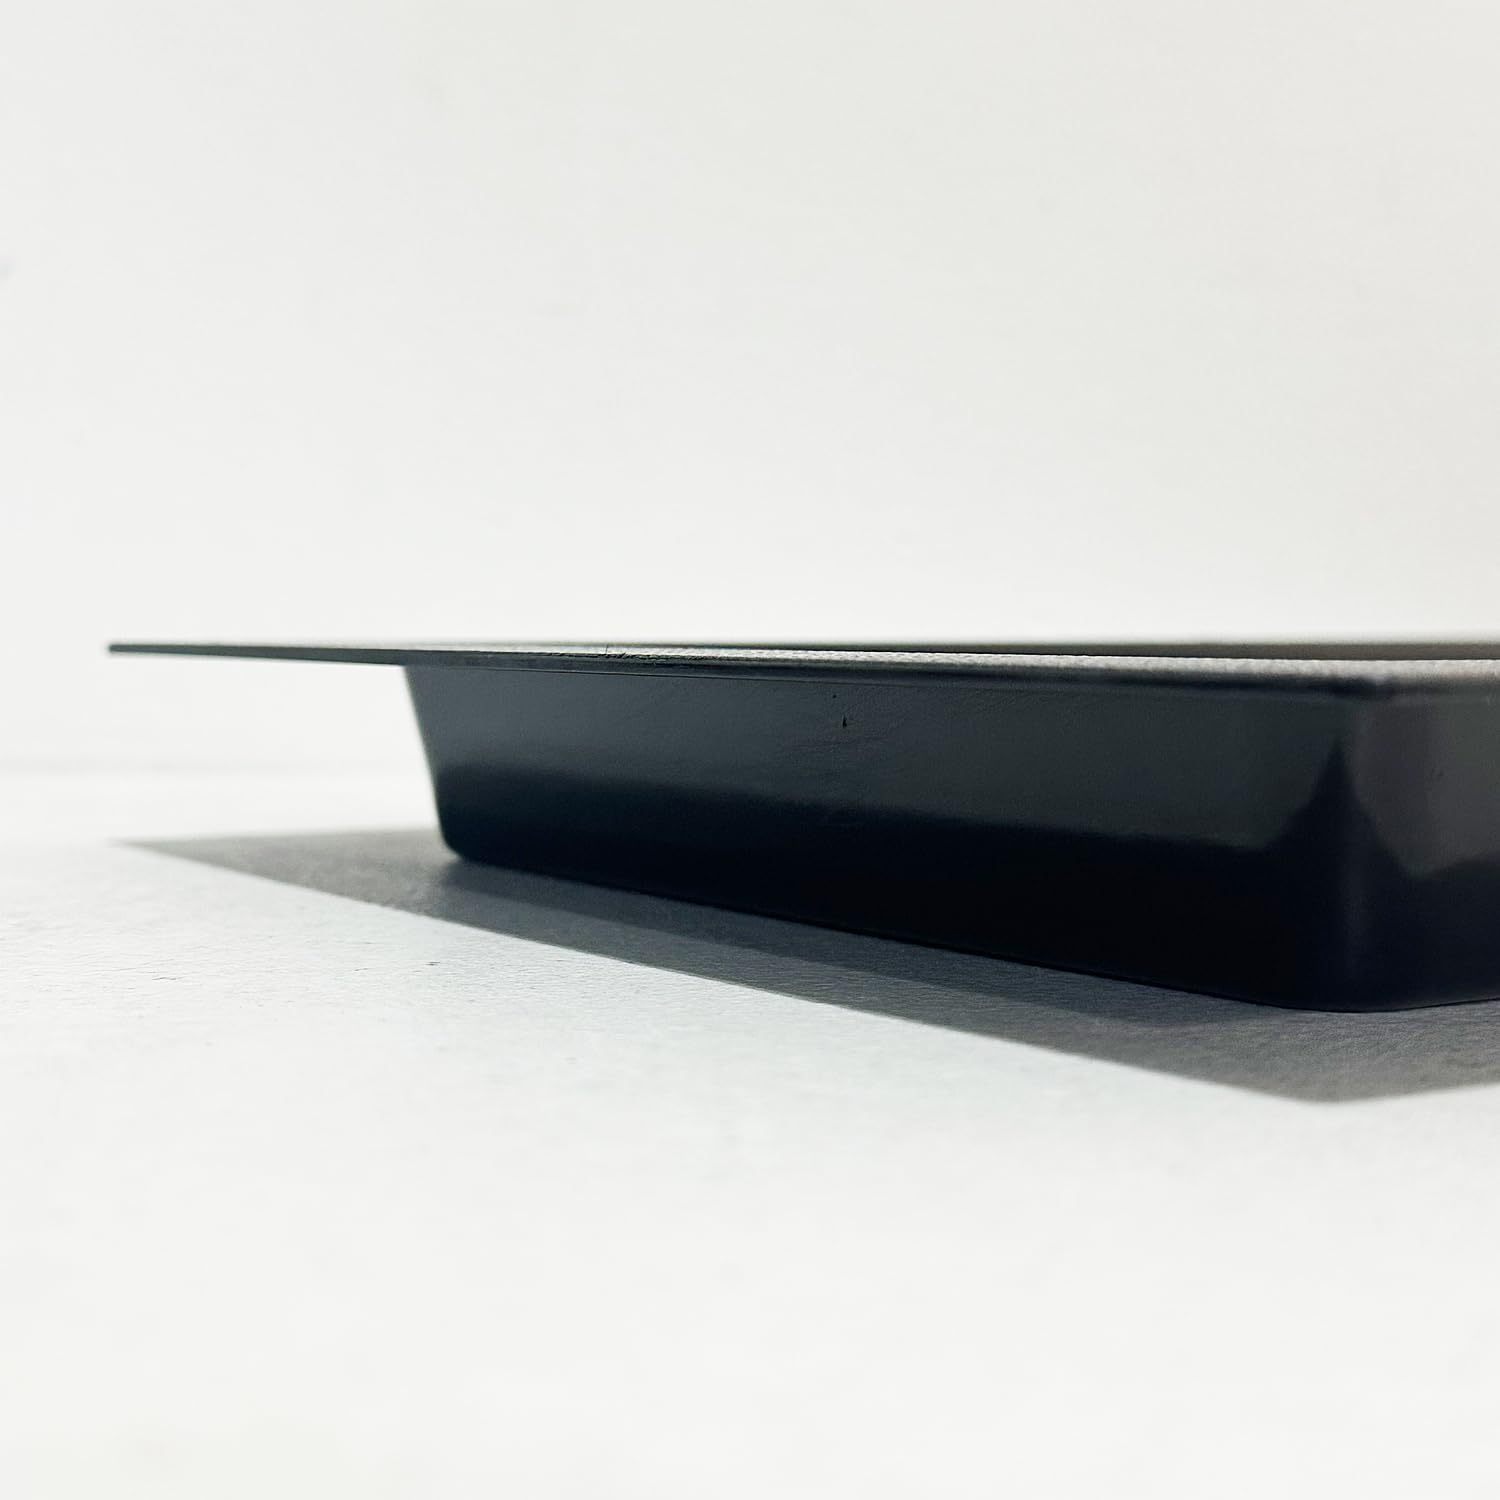
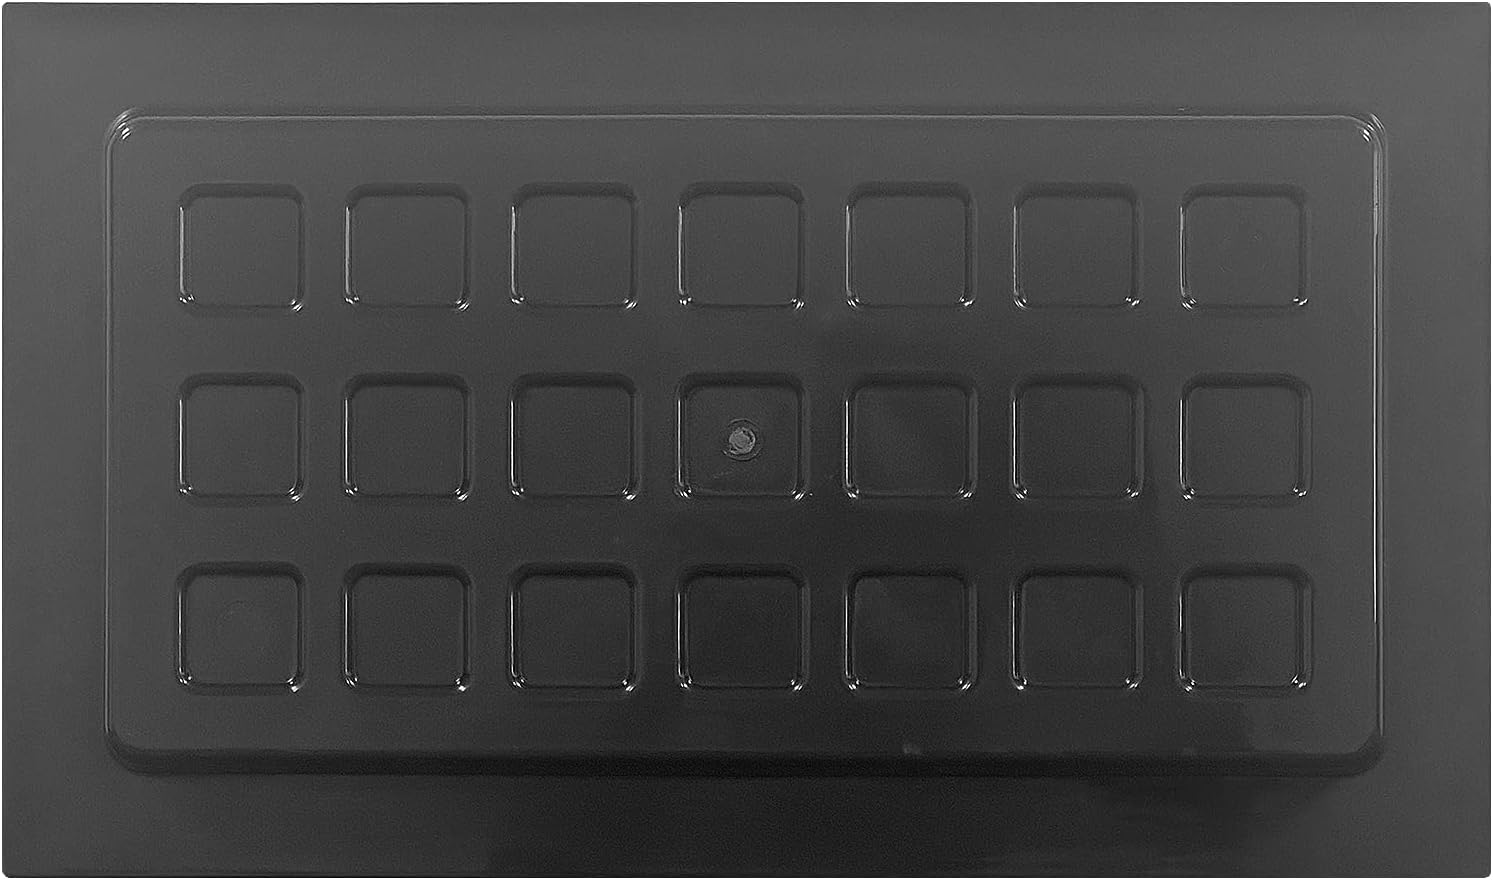
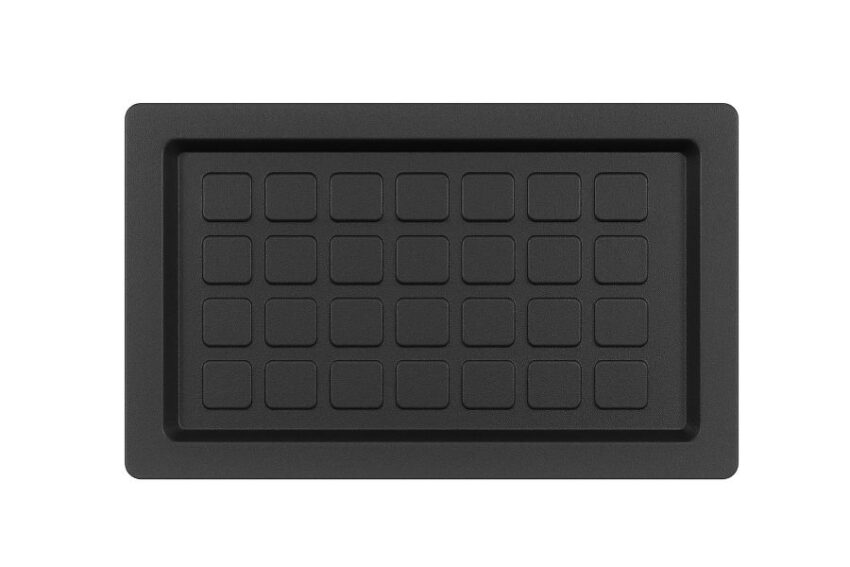
The Crawl Space Recessed Foundation Vent Cover – Fits 8 inch H x 16 inch W Openings – Durable and Efficient Sealing Solution (Black) is a solid, non-operable insert that sits inside a standard 8 x 16 foundation opening to close it off cleanly. The unit is molded from durable ABS plastic and is built as one solid face, so there are no louvers to rattle or screens to tear.
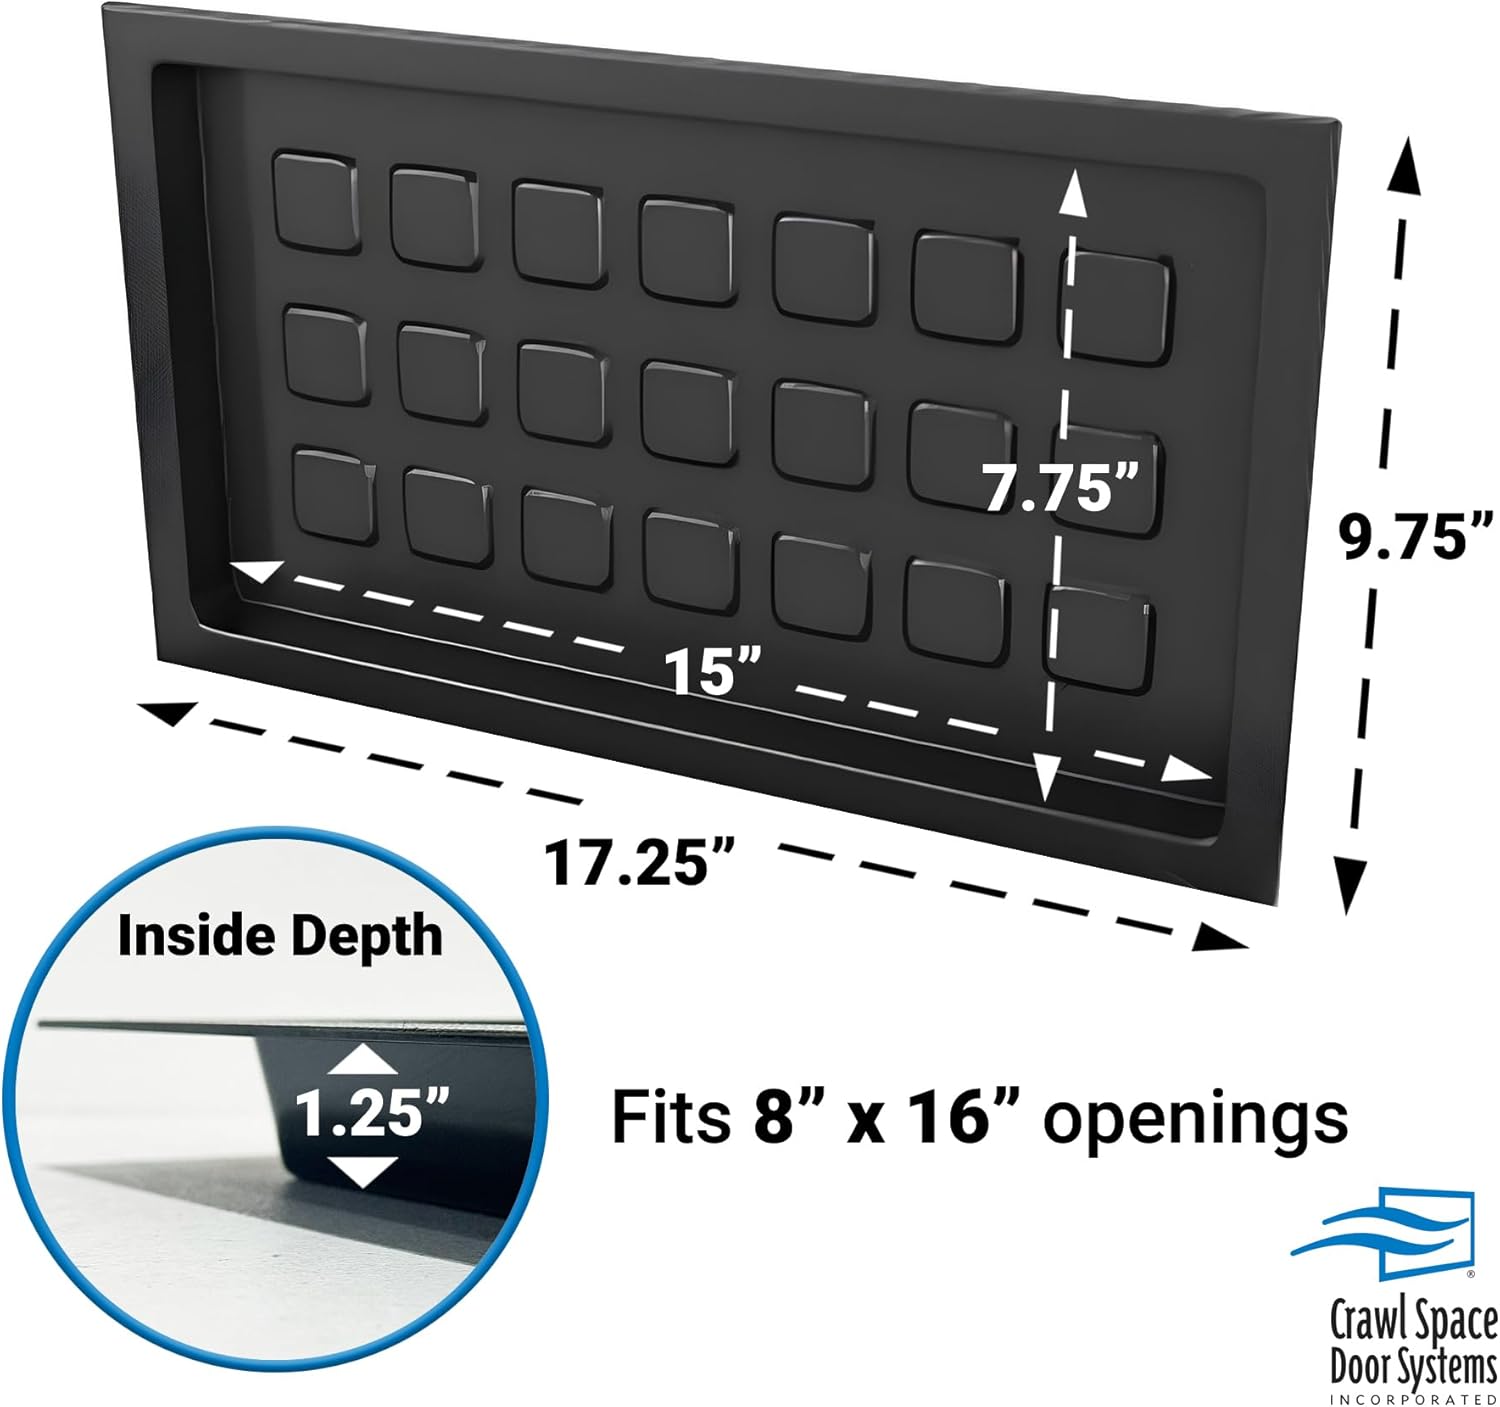
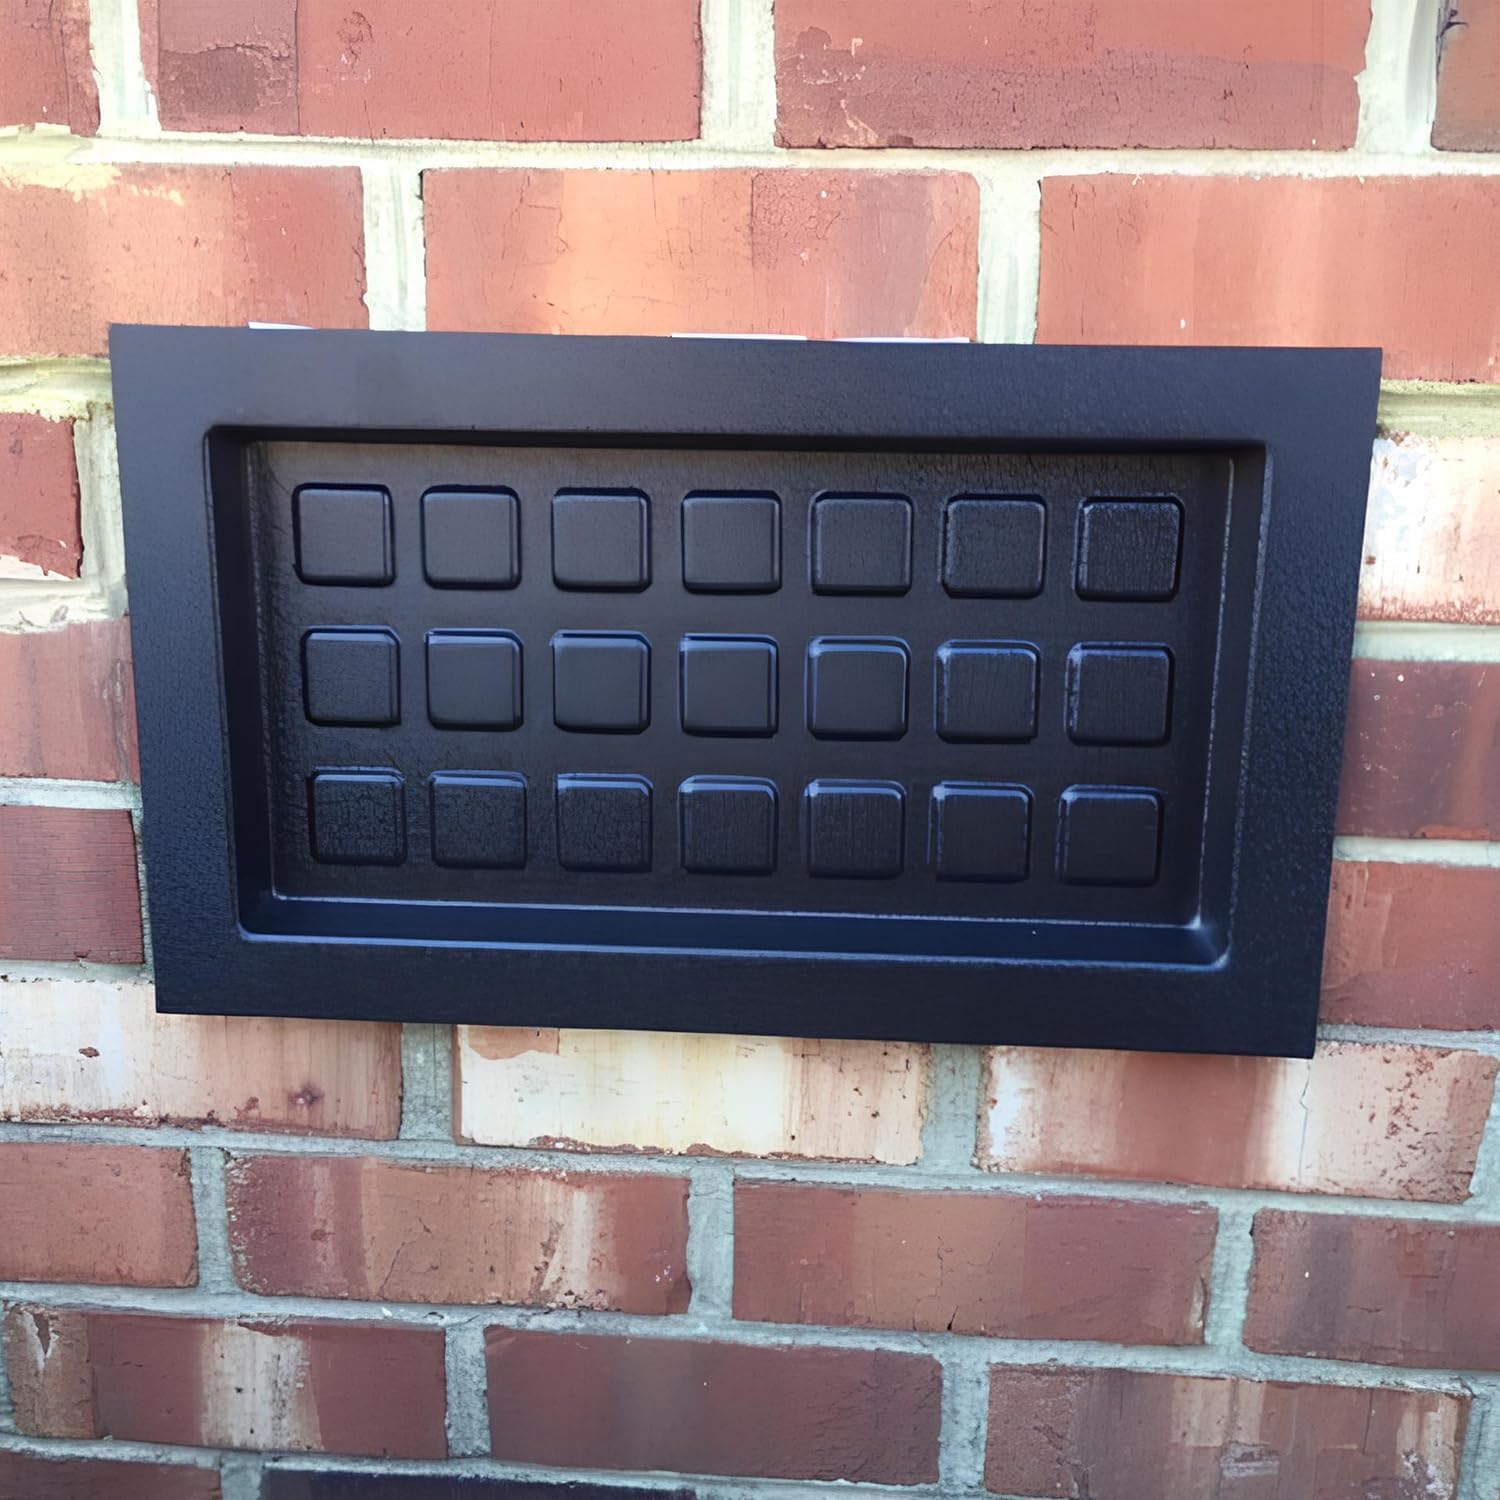
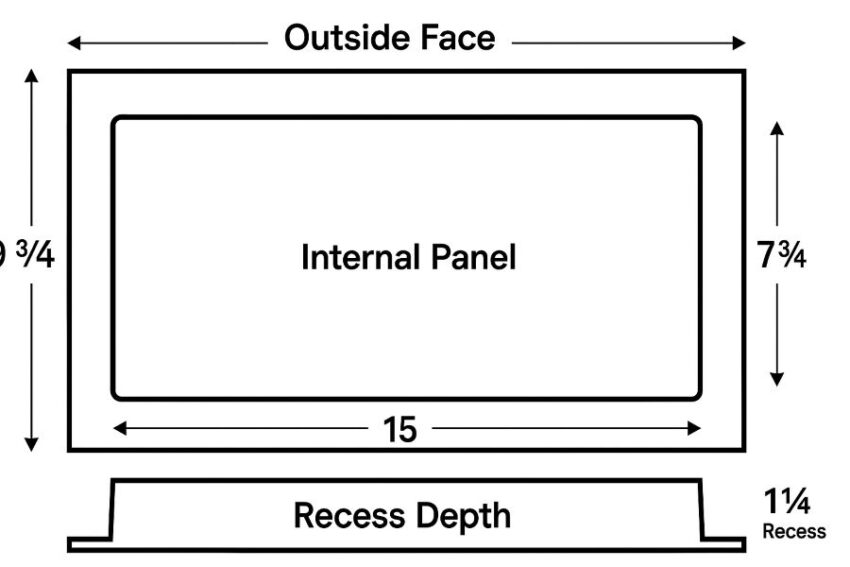
Typical dimensions listed by sellers show an internal opening near 7 and three-quarter inches by 15 inches, an outside face around 9 and three-quarter inches by 17 and one-quarter inches, and an inside depth of about 1 and one-quarter inches that allows the cover to recess slightly into the block cavity for a flush look. That form factor is specifically meant to replace the old vent hardware when you convert to a sealed or encapsulated crawl space.
How it works in a sealed or conditioned crawl space
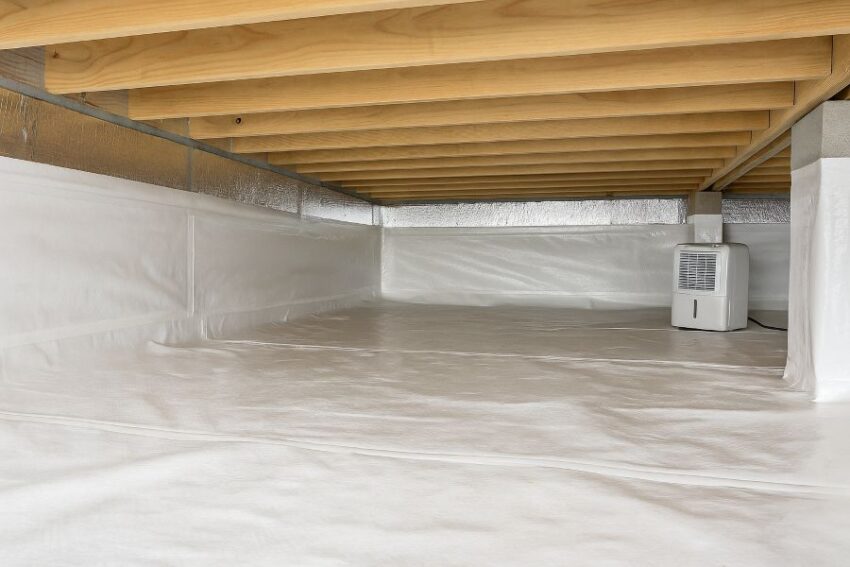
In a modern crawl space, you control moisture by keeping ground vapor out, keeping outdoor air out, and then managing the remaining humidity with either conditioned air or a small dehumidifier. Blocking the 8 x 16 openings is step one because open vents invite seasonal air that drives condensation on ducts and floor systems.
Research groups such as Advanced Energy and the U.S. Department of Energy’s Building America program have repeatedly found that closed or conditioned crawl spaces perform better than vented ones for moisture control and often energy use as well. This recessed cover simply turns a leaky hole into a tight surface that pairs with your ground vapor retarder and mechanical drying plan.
What makes it different from slider or automatic vents
Slider and automatic foundation vents are designed to promote air exchange, not to seal. Product pages for common slider or louvered models highlight “net-free area” for airflow, which is the opposite of what an encapsulated crawl space needs. If you are following the unvented crawl space pathway in the International Residential Code, the code outlines a continuous ground vapor retarder with sealed laps and perimeter air sealing, then either a supply of conditioned air or a dedicated drying option. A rigid, non-opening cover helps you meet that intent while also creating a clean mounting surface for any foam or sealant you use at the edges.
Why this approach is effective for moisture and health
Mold and dust mites thrive when relative humidity stays high. The U.S. EPA’s mold guidance recommends keeping indoor humidity below sixty percent, ideally between thirty and fifty percent. When you seal the vents with a recessed cover, your vapor barrier and dehumidifier do not compete with wind and weather, so it is much easier to hold that healthy range. In practice, that means fewer musty odors, less fungal growth on joists, and a safer environment for technicians who need to service plumbing or ductwork.
Product Specifications
| Item | Details |
|---|---|
| Product name | Crawl Space Recessed Foundation Vent Cover, fits 8 inch height by 16 inch width openings, color Black |
| Use case | Permanently seals a standard 8 x 16 foundation vent opening as part of a sealed or conditioned crawl space project. Not a ventilation device and not a flood vent. Replaces a louvered vent or automatic vent when converting to an unvented crawl. |
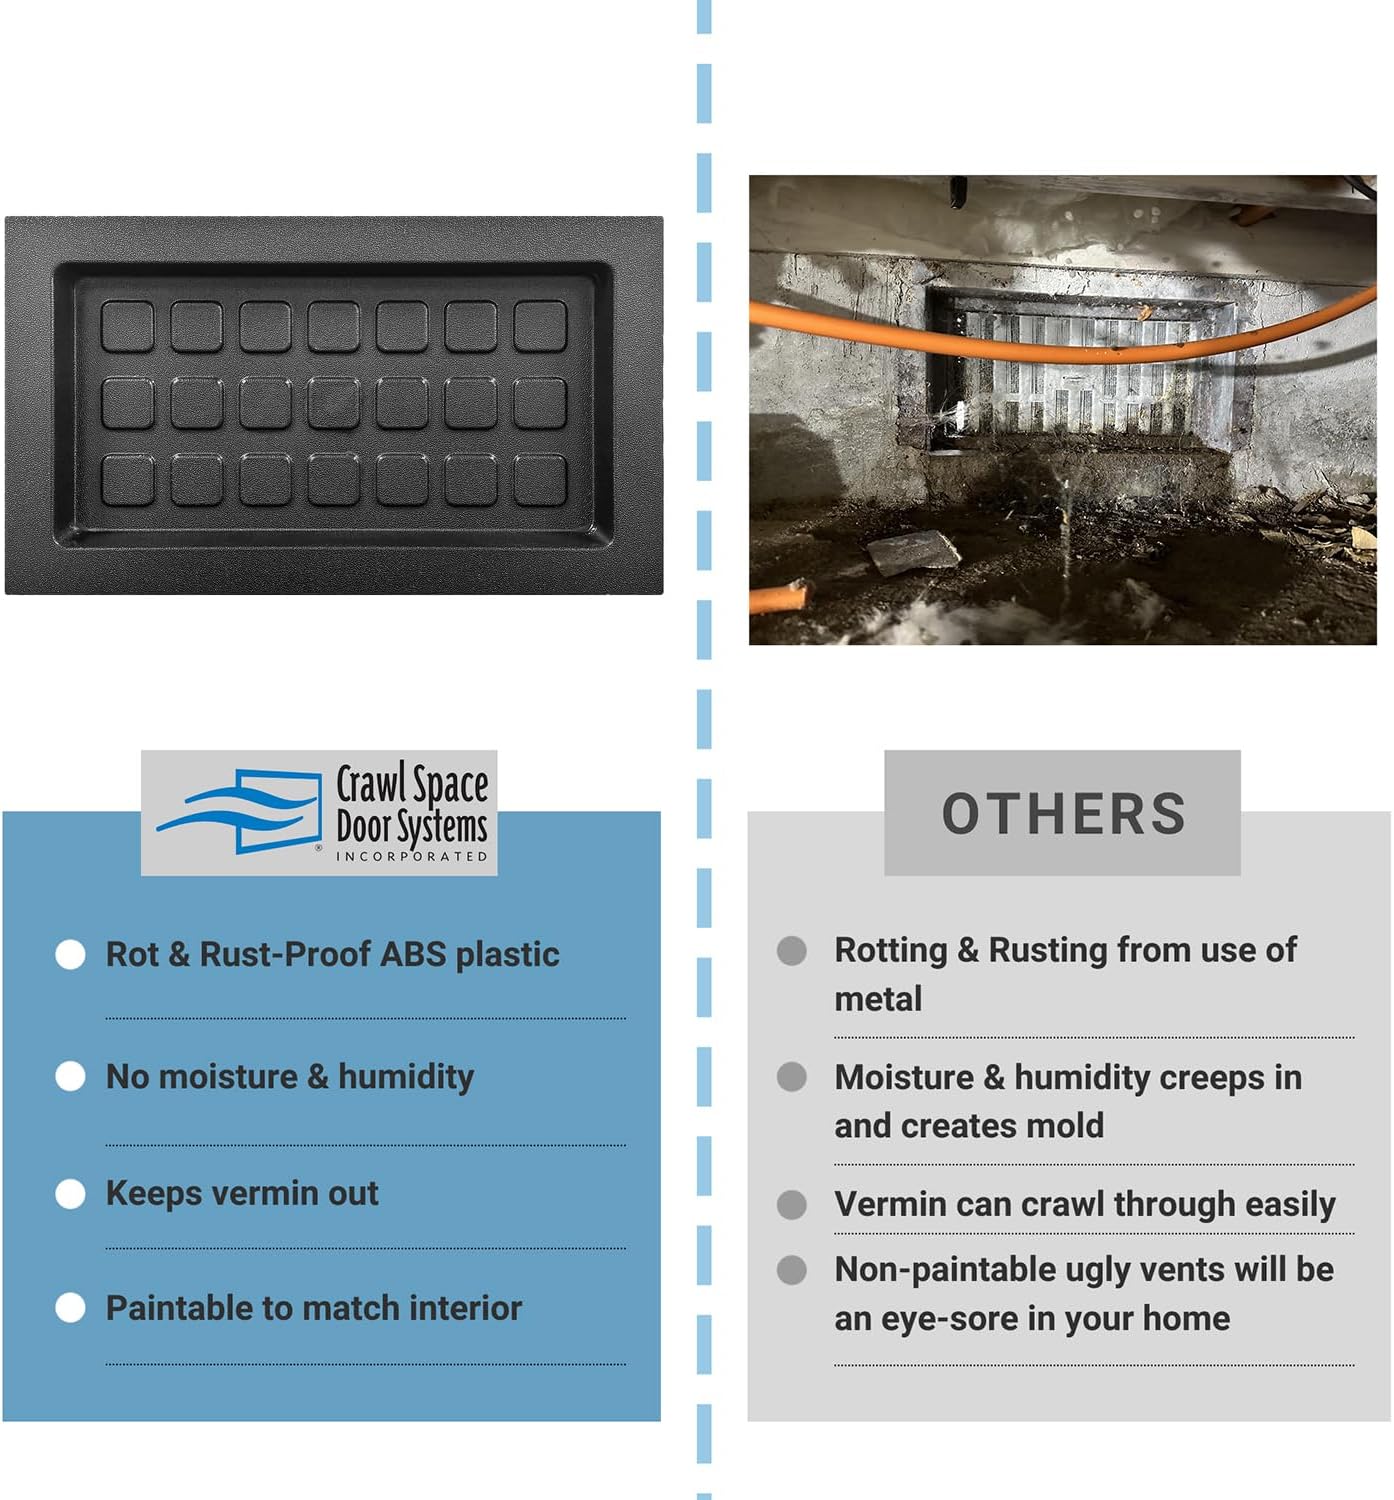
| Material | ABS plastic that is UV treated, so it will not rust or rot. This is the common construction for branded recessed covers from crawl space suppliers. |
| Color options | Black is common. Many sellers also stock white in the same size. |
| Outside face size | About 9 3/4 inches high by 17 1/4 inches wide. This is the trim face you will see at the wall. |
| Inside opening size | About 7 3/4 inches high by 15 inches wide, which is the internal panel area that recesses into the block opening. Note that some listings show smaller internal panel measurements. Always measure your opening before purchase. |
| Recess depth | About 1 1/4 inches inside depth, so the cover sits slightly inside the wall plane for a clean look. |
| Compatible rough opening | Standard 8 x 16 foundation vent opening. This is the rough opening used by most manual or automatic vent models, so the recessed cover is a direct swap when you seal the crawl. |
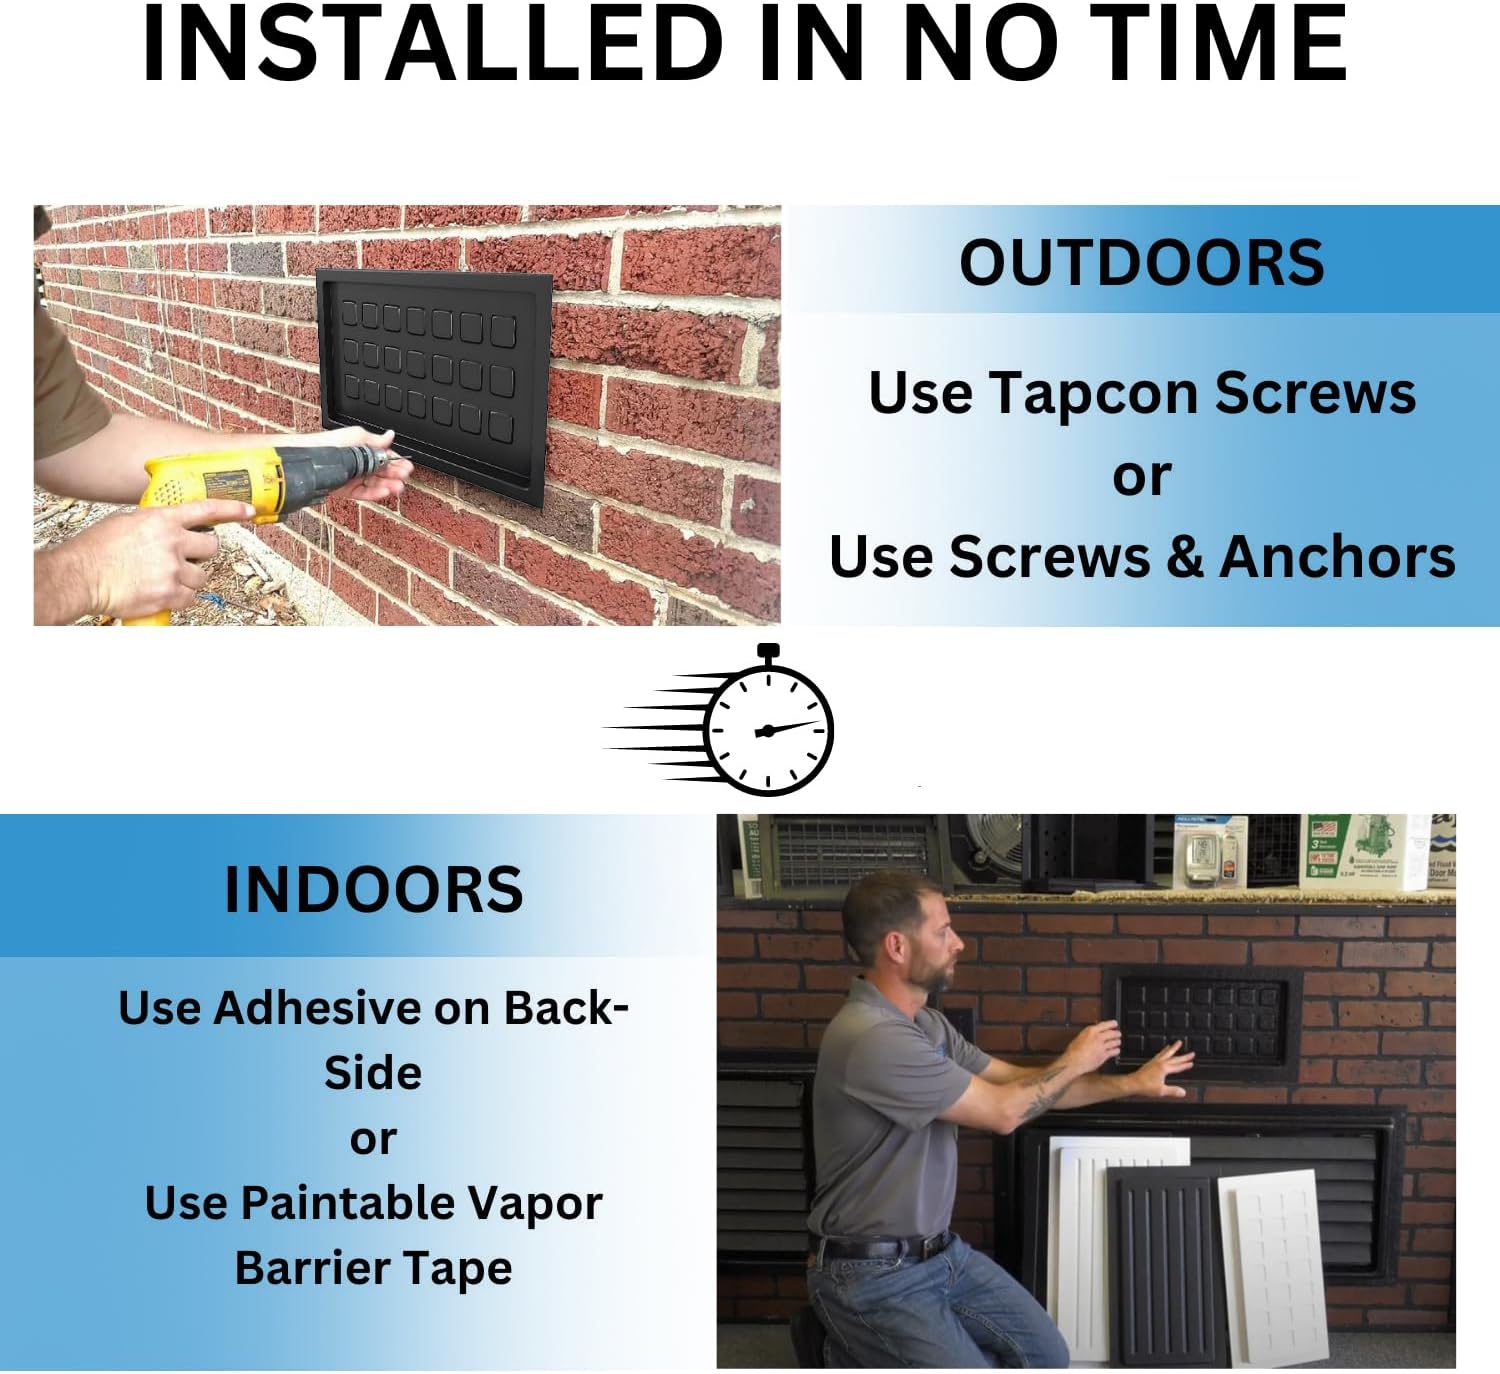
| Installation methods | Fasten from the interior with masonry screws, or adhere with a compatible construction adhesive. Some sellers note either method. You can also glue rigid foam to the back if you want insulated closure. |
| Pest and weather performance | Solid, non-operable face eliminates louvers and screens that can break or clog. The cover blocks outdoor air and vermin pathways at the former vent opening. |
| Where it fits in code | The International Residential Code R408.3 outlines how to build an unvented crawl space: ground must be covered with a continuous class I vapor retarder with sealed laps, perimeter air sealing at walls and openings, and either conditioned air or a mechanical drying option such as a small dehumidifier. The recessed cover helps meet the perimeter air sealing step. |
| Moisture and IAQ targets | After sealing, aim to keep crawl space relative humidity below 60 percent, ideally 30 to 50 percent, which aligns with the U.S. EPA’s guidance for mold prevention. |
| What it is not | Not a free-air vent and not an ICC-rated flood vent. If you are in a floodplain and need a code-listed flood vent, use an ICC-ES evaluated flood vent instead. |
| Typical package contents | Cover panel only. Fasteners, foam, and adhesive are usually sold separately. Check the specific listing you are buying. |
How to Use and Installation Guide
Before you start: what this cover does
A recessed vent cover is one piece of a sealed or conditioned crawl space. Research groups and code officials are clear that moisture control requires three things working together: a continuous class I vapor retarder on the soil, perimeter air sealing at vents and gaps, and a way to dry or condition the air such as a small supply of conditioned air or a dehumidifier. Closing the 8 x 16 openings with a rigid cover is the perimeter air-sealing step that lets the rest of the system work.
Tools and materials I use on real jobs
- Recessed crawl space vent cover sized for 8 x 16 openings.
- Masonry screws, commonly called concrete screws, with a hammer drill and the correct carbide bit. For 3/16 inch screws use a 5/32 inch bit, and for 1/4 inch screws use a 3/16 inch bit. Drill the hole at least 1/4 inch deeper than the planned embedment and clean the dust from the hole for holding strength.
- Construction adhesive that bonds to masonry and plastic, for example a polyurethane or advanced polymer formula.
- Low-expansion spray foam or sealant for perimeter air sealing, plus backer rod if gaps are wide.
- Optional rigid foamboard if you want insulated closure behind the cover.
- Safety gear: eye protection, dust mask, gloves, kneepads, and job lighting.
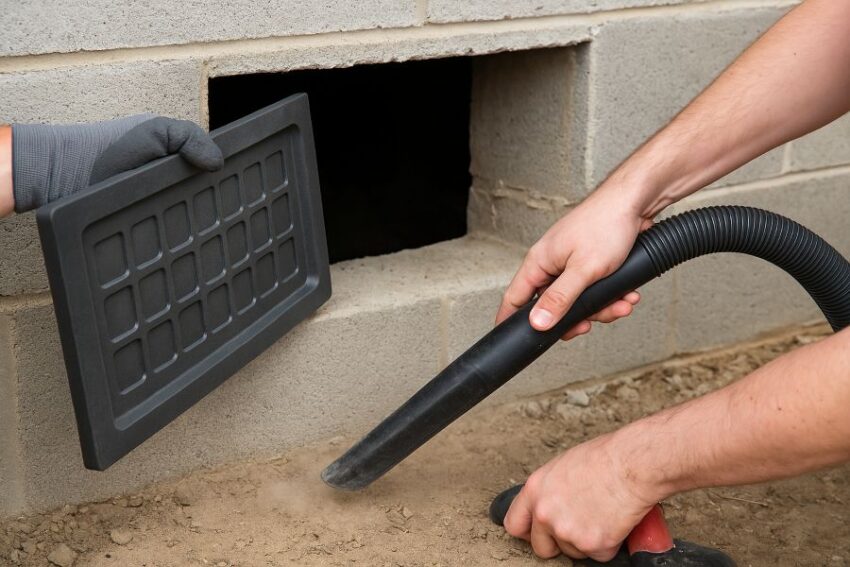
Step 1: Prep the opening
Remove the old louver or automatic vent and any rusted screws or nails. Brush or vacuum the block opening so adhesive and sealant can bond. Dry fit the cover to confirm it recesses cleanly and sits square.
If you are in termite country and plan to insulate the foundation wall, many jurisdictions require a visible inspection gap at the top of wall foam. Typical guidance calls for a 3 to 4 inch clear band below the sill so inspectors can see termite tunnels. Plan your foam and cover layout so you do not block that band. Check local rules.
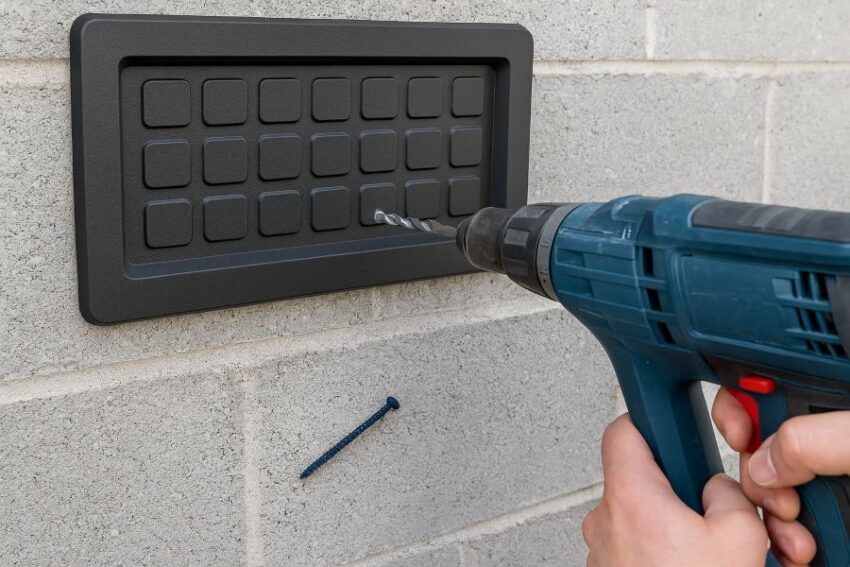
Step 2: Choose fastening, adhesive or screws, or both
You can set the cover with construction adhesive alone, with masonry screws alone, or use both for belt-and-suspenders. Adhesives rated for masonry and plastics are appropriate here. If you screw it off, use a hammer drill with the correct bit and drill slightly deeper than the screw embedment, then blow out the dust before driving the fastener. Minimum embedment for most concrete screws is about 1 inch, and manufacturers stress cleaning the hole for holding strength. Do not over-tighten.
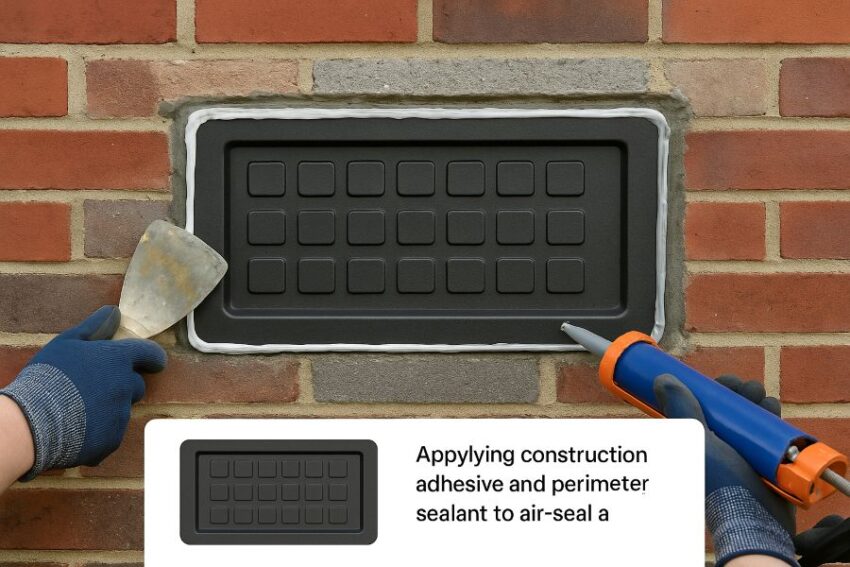
On irregular block faces, a thin butter coat of adhesive on the cover’s backer flange helps take up the unevenness while the screws clamp it flat.
Step 3: Air seal the perimeter
After the cover is mechanically set or the adhesive tacks, run a continuous bead of sealant around the perimeter to stop air leakage. If the joint is wider than a pencil, push backer rod into the gap first so your sealant forms the correct hourglass shape.
Step 4: Add optional insulated closure
In mixed or cold climates, I often adhere a piece of rigid foamboard to the interior face of the cover to reduce conductive losses at the opening. Use a foam-safe adhesive and stop the foam short of any required termite inspection gap on the wall. Local details vary, so confirm with your inspector.
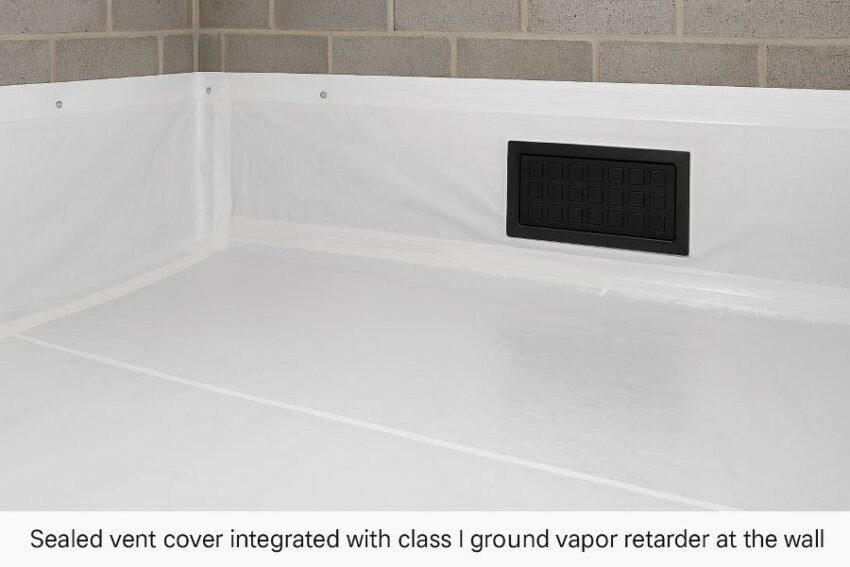
Step 5: Tie-in to the vapor retarder and drying strategy
A sealed cover works best when the ground is already lined with a continuous class I vapor retarder with sealed laps that climbs the wall and is fastened and sealed. That liner, plus the vent covers, turns a leaky crawl into a controllable space. Then add your drying method, either a small supply of conditioned air from the HVAC system or a dedicated dehumidifier sized for the volume and leakage of the crawl.
Step 6: Control the Environment
Set a humidity target and verify it. The U.S. EPA recommends keeping indoor relative humidity below 60 percent, ideally in the 30 to 50 percent range. Place an inexpensive hygrometer in the crawl and check it after weather changes and after rain. If the number creeps up, run or resize the dehumidifier or increase the conditioned air supply slightly.
Look for condensation risks. If you still see sweating on ducts or cool pipes, improve air sealing, insulate cold surfaces, or adjust dehumidifier settings. National research notes that simply closing vents without the rest of the measures can raise humidity, which is why this commissioning step matters.
Confirm drainage. The EPA reminds homeowners not to let foundations stay wet. Make sure the grade slopes away and that downspouts discharge well clear of the foundation so your sealed crawl is not fighting bulk water.
Step 7: Seasonal maintenance
Walk the perimeter once or twice a year. Confirm the covers are tight, sealant is intact, and the liner is still bonded at the wall. Swap dehumidifier filters as needed and keep the RH meter where you can read it at a glance. With the vents properly sealed, most homeowners report steadier humidity and fewer musty odors. That aligns with field anecdotes where permanent sealed closures outperform temporary plugs.

Common Issues
- Closing vents, but skipping the vapor retarder. That often leaves moisture trapped with no control. Install the liner and seal the seams before final vent closure.
- Using the wrong fastener or drill bit. Concrete screws need the exact bit size and a hole a little deeper than the embedment, with dust removed. Skipping those steps weakens the hold.
- Blocking termite inspection gaps. In many regions, inspectors require a visible gap between wall foam and the sill plate. Keep that band clear.
When you follow these steps, your recessed crawl space vent cover for 8 x 16 openings becomes a clean, durable air seal that supports the whole moisture-control strategy. Keep your humidity in the healthy range and you will protect the structure and the people living above it.
Frequently Asked Questions
Do building codes even allow me to seal foundation vents?
Yes, modern codes include a clear path for unvented crawl spaces when you follow specific steps. The International Residential Code section R408.3 requires a continuous class I ground vapor retarder with sealed seams, perimeter air sealing at openings, and a drying method such as conditioned air or a small dehumidifier. Your recessed 8 x 16 vent cover is the air-sealing piece in that puzzle.
If I install this recessed cover, will a dehumidifier still be necessary?
Often yes, especially in humid climates or after recent construction where wood is still drying. Building-science practitioners point out that a dehumidifier works much better once vents are sealed, otherwise you are trying to dehumidify the outdoors. Plan the sequence like this: ground liner first, vents sealed, then size the dehumidifier for the space. Aim to hold relative humidity below 60 percent, ideally in the 30 to 50 percent range.
What humidity numbers should I look for after I seal the vents?
The U.S. EPA’s consumer guidance recommends keeping indoor humidity below 60 percent, ideally 30 to 50 percent. Place a hygrometer in the crawl and check after rain and seasonal shifts. If readings creep up, increase drying or check for bulk water.
How do I fasten the cover to block or brick so it stays tight?
Concrete screws are a dependable choice. Manufacturer instructions specify using the correct carbide bit for the screw size, drilling the hole about 1/4 inch deeper than the embedment, and blowing out dust before driving the screw. Those small steps make a big difference in holding strength. If the block face is rough, add construction adhesive rated for masonry and plastics, then run a finish bead of sealant around the perimeter.
I live in termite country. Will sealing the vents hide termite tunnels from inspectors?
Local jurisdictions that allow wall foam commonly require a visible inspection gap between the top of wall insulation and the sill so pest pros can spot tubes. One county example calls for a clear band of roughly 3 to 4 inches. Keep that gap unobstructed when you add foam or trim around the cover, and confirm your local rule with the inspector.
I am in a mapped flood zone. Can I use this cover instead of a flood vent?
No. A recessed solid cover is for air sealing, not for flood relief. If your home requires engineered flood vents, look for ICC-ES evaluated products that list the square footage each vent serves. Use those where flood openings are mandated and use solid covers only where flood code does not apply.
Will sealing vents raise or lower my energy bills?
Energy outcomes vary by climate and details, yet field research on closed crawl spaces has documented better moisture performance and, in some studies, energy savings compared to vented crawls. Savings are not guaranteed in every case, however the comfort gains and moisture control are consistent benefits when the system is built correctly.
I have a furnace or water heater in the crawl. Is an unvented crawl still possible?
It can be, but you must maintain proper combustion air and follow appliance manufacturer and code requirements. Many homes have sealed crawls with all combustion equipment outside the crawl or in sealed closets that draw air from the exterior. Coordinate with your HVAC contractor and code official before you start. The code pathway for unvented crawls does not remove combustion-air rules.
Should I just cover vents in winter and reopen them in summer?
Temporary seasonal covers are a common forum topic, however they miss the bigger moisture strategy. A code-compliant sealed crawl controls ground vapor, blocks outdoor air year-round, and provides active drying or conditioning. If you only close vents seasonally without installing a vapor retarder and sealing details, you may not get the moisture or comfort results you expect.
Do I still need drainage improvements outside if my vents are sealed?
Yes. Gutters, downspout extensions, and grading that sheds water away from the foundation remain essential. EPA guidance stresses removing sources of moisture, not just treating symptoms. Keep bulk water out first, then the sealed system can maintain healthy humidity reliably.
Is there any community feedback on dehumidifier choices for sealed crawls?
Yes, professionals and homeowners regularly discuss crawl-rated units, sizing tips, and costs on building forums. A frequent theme is to size for the volume and leakage of the space and to verify with a hygrometer after installation. Those threads are helpful reality checks during planning.
Conclusion
Sealing a leaky vent is a small task that unlocks big wins. A recessed crawl space vent cover 8×16 black turns a wind-blown opening into a clean, durable air seal, which is exactly what modern sealed crawl guidelines expect. Pair it with a continuous ground vapor retarder and a simple drying method, and you are following the same unvented-crawl path used by building scientists and written directly into the residential code.
Here is the simple promise. When the vents are truly closed and the liner and drying are in place, humidity becomes controllable. Keep your crawl space below 60 percent, ideally between 30 and 50 percent, and you cut mold risk, reduce musty odors, and protect the structure that supports your floors. You do not have to take my word for it. This target comes from the U.S. EPA’s mold guidance and indoor air course, and it is the same range I set on every crawl job I commission.
If you are wondering whether this is worth it long term, field studies from Building America and Advanced Energy have shown that closed or conditioned crawl spaces outperform vented ones on moisture control and can reduce energy use for heating and cooling. In short, sealed crawls are not a niche idea anymore. They are a tested path that many homes benefit from when done right.
Related products
-
Sale!

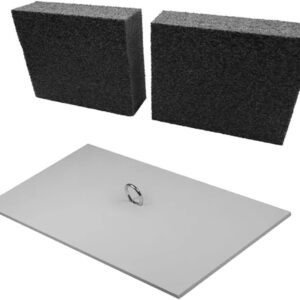
Exterior Crawl Space Vent Cover with 2-inch Insulation Blocks
Original price was: $224.39.$31.97Current price is: $31.97. Buy Now -
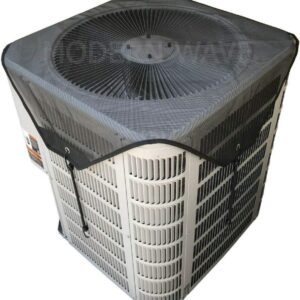
Modern Wave 36×36 Breathable Mesh AC Cover for Outdoor Units
$23.99 Buy Now -
Sale!
Powerful Magnetic Vent Covers – 6 × 12.75 Inch, 3‑Pack
Original price was: $42.95.$37.95Current price is: $37.95. Buy Now -
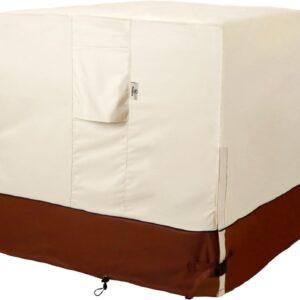
30″ Heavy-Duty Waterproof AC Cover for Outdoor Units
$22.99 Buy Now

Reviews
There are no reviews yet.